Thursday, October 8, 2020

Happy Snails to You - another free "Tails (and more) from the Scrap Bag" pattern


I was asked to make a batch of small colorful snails for birthday party favors. After looking at some of the available patterns, I played around and came up with this pattern... with minimal sewing and using small amounts of scrap yarn. One snail uses less than an ounce of yarn, about .4 for the main color and .3 for the contrast color. Antenna are crocheted as you go, so the only sewing (other than embroidering a smile) is a few long stitches to hold the shell coil together.  These work up quickly (unless you crochet at a snail's pace 😄), so you can probably work one up in one sitting. 

I made mine with an F hook and worsted weight yarn. You want your stitches to be tight enough that your stuffing doesn't show through, so if you crochet loosely, you may need to go down a hook size. I used 6 mm safety eyes. You'll also need a small amount of sport weight black yarn or embroidery floss for the smile (I took a short length of worsted weight yarn and split it into two 2-ply pieces for embroidering, since I didn't have black sport weight.)

Okay, let's get started
With MC (Main Color)
Round 1: 4 sc in Magic Ring (4)
Round 2: inc, antenna, 2 inc, antenna, inc (8)
(Antenna: chain 5, 2 sc in 2nd ch from hook, slip stitch in remaining ch)
Round 3: *sc, inc*, repeat around (12)
(Round 3 is tricky... you do one sc & inc, push the antenna out of the way, then do the next two sc, inc after the antenna. Push the second antenna out of the way and do the last sc, inc.)
Round 4: *2 sc, inc*, repeat (16)
Rounds 5-8: sc (16)
Insert 6 mm safety eyes between rows 5 & 6, with 4 stitches between. Embroider a mouth two rows below the eyes. 
You can get fancy with the eyes, adding eyebrows, like on the orange and black guy:
Or add little eyelashes, like on this pink and white gal: 


Or, if you don't want to use safety eyes, you can just embroider some eyes... 
Round 9: *2 sc, dec*, repeat (12)
Rounds 10-15: sc (12) Lightly stuff head. The rest of the snail is not stuffed. 
Change to Contrasting Color
Rounds 16-51: sc (12), working 3 rows in CC, then 3 rows in MC. You will have 6 stripes of each color when you're done. For this one, I used variegated yarn and kept track of rows.  Finish off, leaving a long tail to sew coil. 
 Sew through the coils, bring the needle out through the neck. 

After pushing the needle through, I went back through the exit hole for my next stitch, so that the stitch was hidden inside the tube of the snail's coil. 


Go back and forth through the coils 4 or 5 times to secure it. 

(When I have time to make another one, I'm going to try sewing the edges of the coil together and see if that has a better finish. Sometimes the coils get a little gap this way. But, if you've read my October blog, I've been crazy busy lately!) 

You can switch things up, and use more than two colors. 

The rainbow guy on the left used six colors, just two stripes of each color. 

The one on the left here used pink for the head, but then variegated (pink, cream, gray) and cream for the stripes. (I  mis-read my own pattern and made his head too short... started the stripes too soon!) 
On the right, he has a light purple head, but cream, blue, and purple stripes. 

I would love to see your finished snails... you can tag @penguinplacecrafts on Instagram or save them to your projects on Ravelry. 


Saturday, October 3, 2020

October's Goal: Staying One Step Ahead of Things

Well, one of my goals in September was to end the month with less in inventory than I went in with. I accomplished that goal, although not exactly the way I wanted to... 

I was hoping that two online events (a Labor Day Sale and having a virtual craft show at an online ladies' conference) would result in a bunch of sales of my ready-to-ship inventory. Nope. No sales from either event. I did get a few items out of inventory, giving a few away as gifts, taking one apart to reuse the yarn, and selling one item. For the first time in months, I didn't add new items to my inventory. I just didn't have time! Custom orders have been coming in on a regular basis... just when I think, "okay, I've got it down to five..." then a new order comes in. I also have two design ideas I need to finish by a deadline, and one ongoing project that I would like to have finished by October 16th, when I will have a model to wear it for pictures. 
So I keep making lists... adding the deadlines of ship-by dates, date needed for local orders, or deadlines for designs. I'm hoping to just keep up this month, getting orders out on time and meeting deadlines. 

Here's how the list looks on this first Saturday of the month: 

1. Dogtor - custom order, ship by 10/5 Done


2. Highland cow - custom order, ship by 10/5 - DONE


3. Bath Mitt - design, 10/10 deadline  - DONE (Sorry, no pics until pattern is published 11/1)

4. Caron Cakes hat design - 10/10 deadline DONE 


5. Pocket Shawl (90% done) - 10/16 deadline

6. One and Two Company Cow - whenever

7. Poodle doll - whenever

8. Black cat - Christmas

I'm hoping that by the time I transfer my to-do lists to the next week in my planner, I will have a few of these crossed off my list! Oh, I just got an Etsy conversation about a new custom order... 

Updating the list for week 2: 

1. Dachshund order - ship 10/14

2. Pocket Shawl (still at 90% done) - 10/16 deadline

3. One and Two Company Cow - whenever - not started

4. Poodle doll - whenever -yarn and pattern ready to start 

5. Black Cat - Christmas


But then as we head into weekend #2, it gets changed again: 

1. Dachshund order - ship 10/14 Done

2. Orange Dog - ship 10/16 Done

3. Pocket Shawl (still at 90% done) - 10/16 deadline

4. Poodle doll - whenever - 50% done

5. One and Two Company Cow - whenever - not started

6. Black Cat - Christmas

On Friday night, I realized that Monday was a postal holiday, so I'm hoping to have both Etsy orders ready to ship out on Tuesday, 10/13. 

Tuesday, 10/13

Transferring my new list to a new week, I have: 

1. Pocket Shawl - 90% done, would like to have done by Friday for modeling - DONE


2. Poodle Doll - 50% done Needs 3 legs, tail, ears, neck. 

3. One and Two Company Cow - starting tonight

4. Black Cat - Christmas

Feels good to have the list down to 4 items... and I might finish the pocket shawl tonight. 

I took a break from orders over the weekend, and looked through some recently printed patterns. Decided to work on the first one that really made me smile. This one won: 


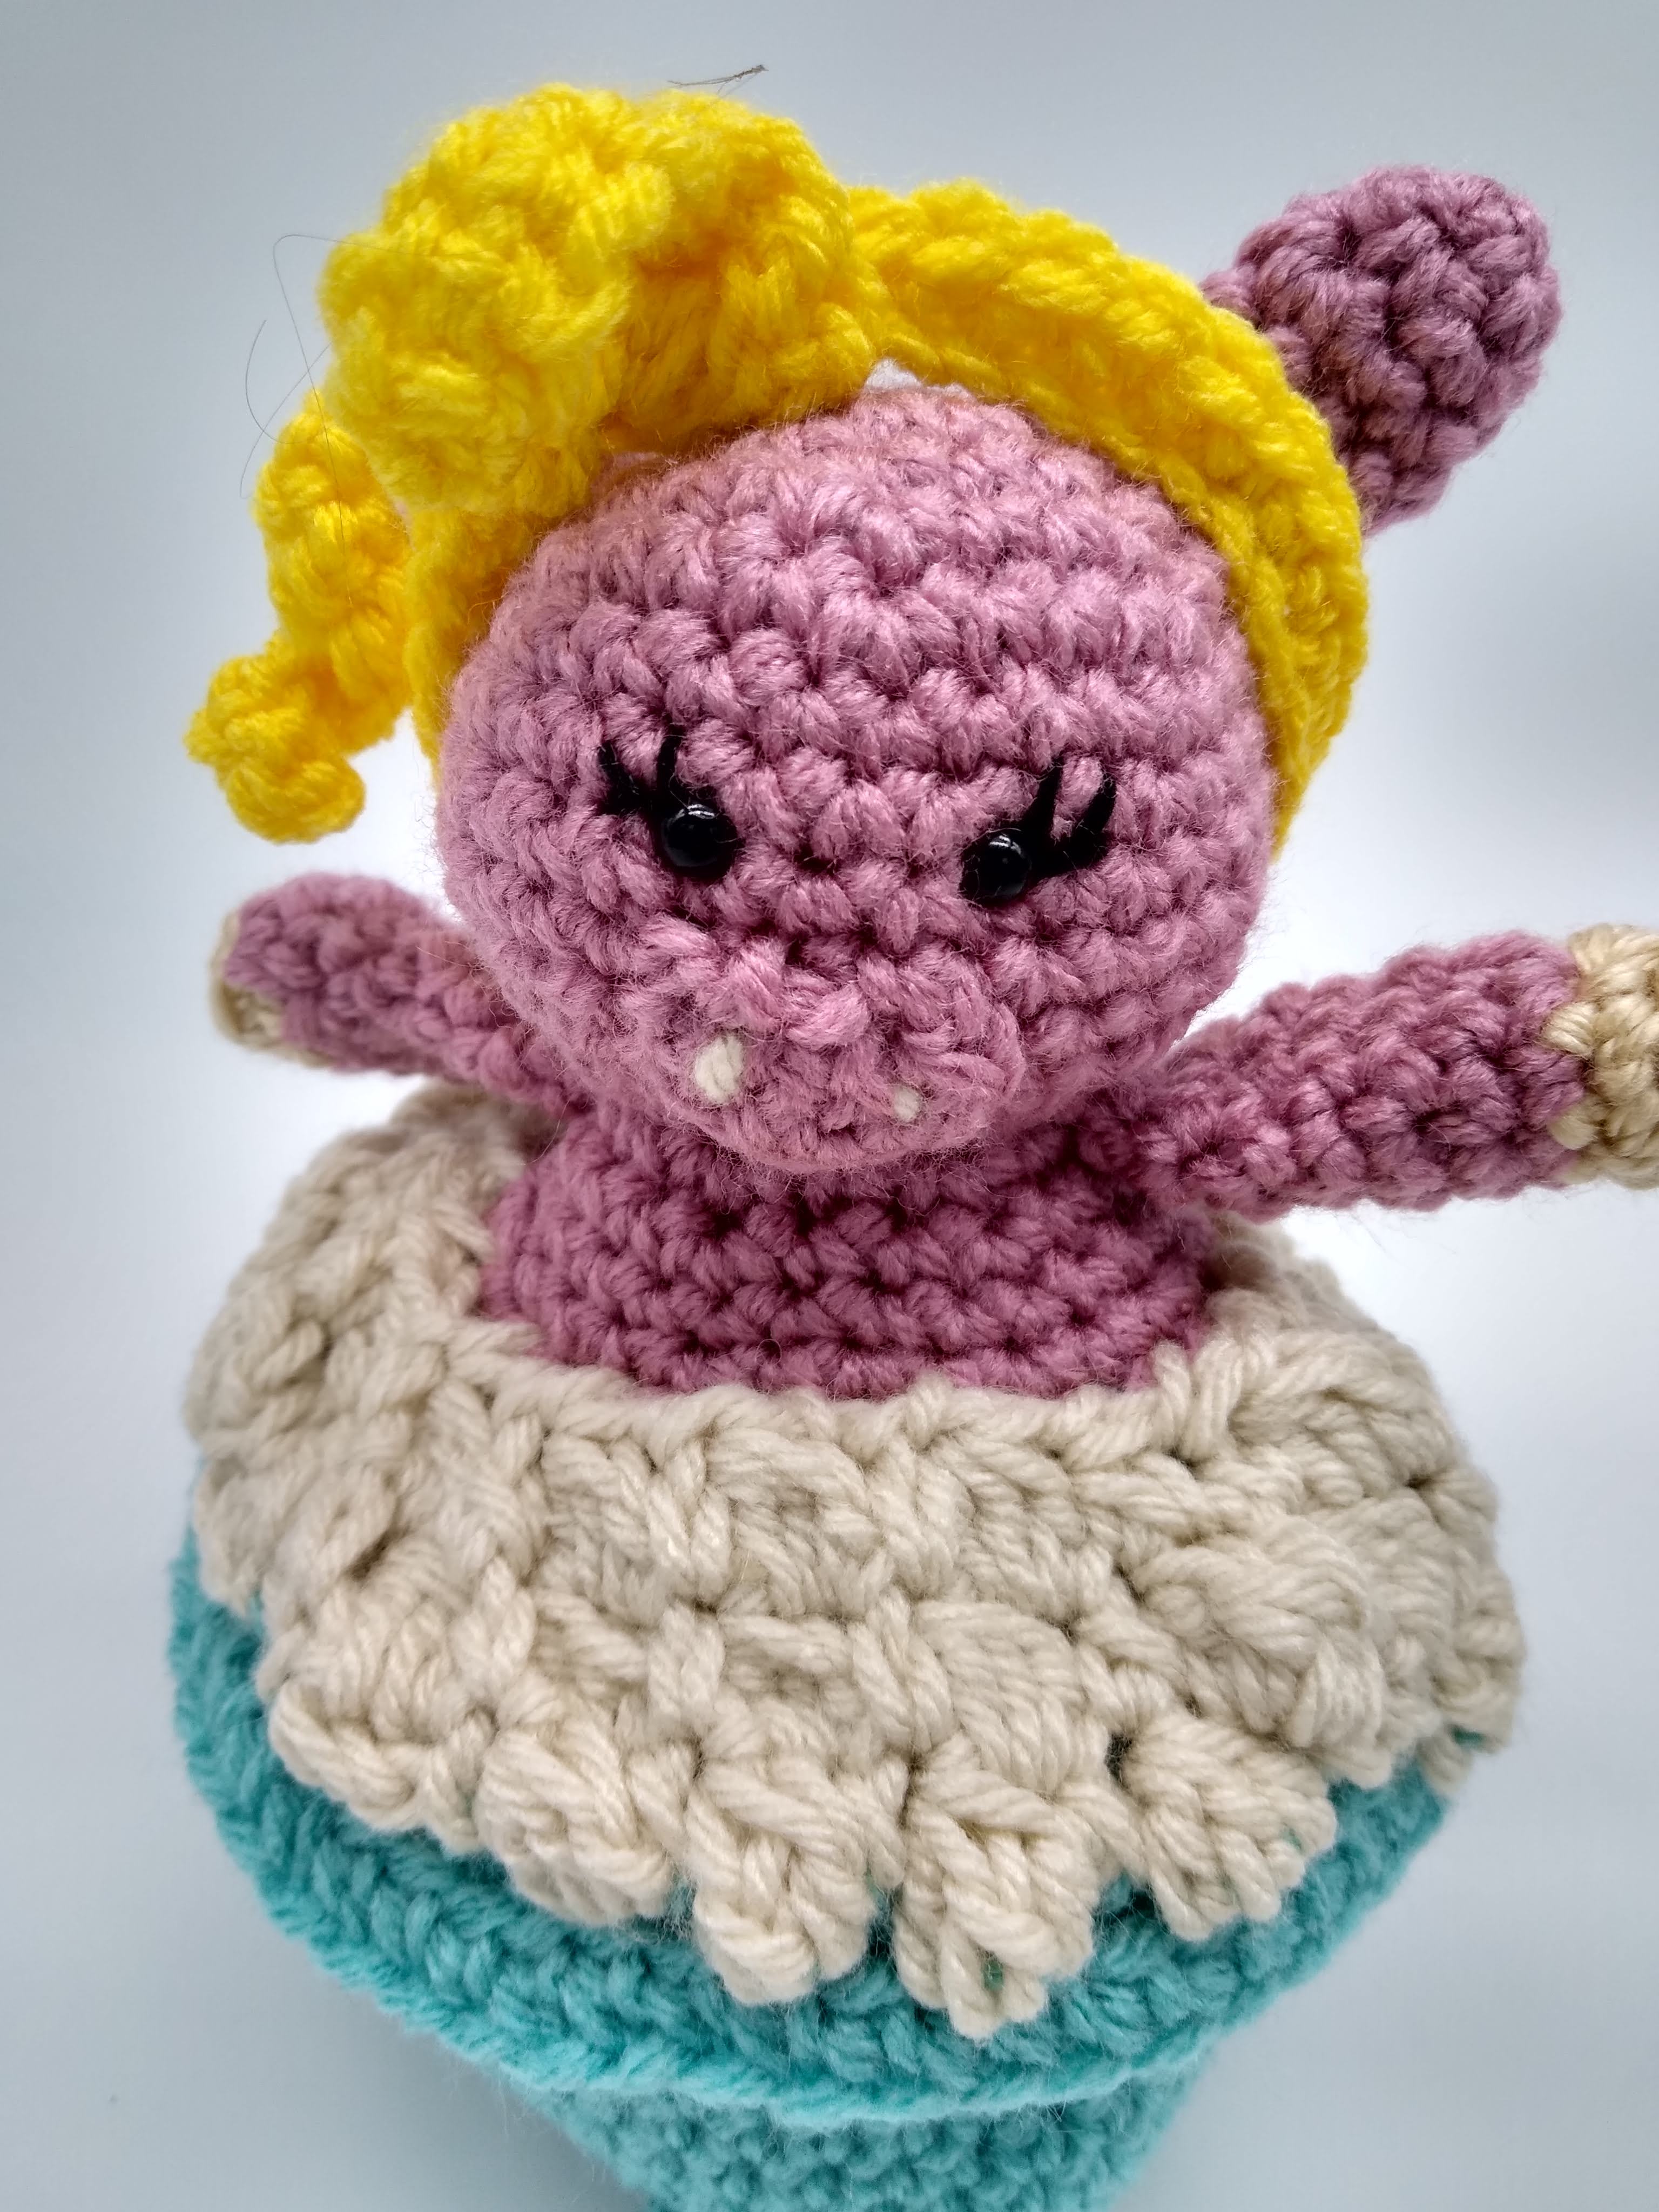
I mean, who wouldn't smile at a cute pig in a bathtub? She got her photo shoot and is in my Etsy Shop now. 

So, starting the week of October 18, I only have three orders left in my queue... but Etsy conversations going on about two others orders for a total of four custom creatures... 

1. One and Two Company Cow... about 75% done with the head. But with that pattern, once I finish the head, the rest goes quickly! 

2. Poodle: 50% done Needs 3 legs, tail, ears, neck. 

3. Black Cat - due for Christmas

I finished the head of the cow, so I decided to reward myself with making a new item... a Zom-Bee! I used my Honeybee Pattern, but made it in green and black, and added some details with black yarn and red paint. 


I posted the pics to Instagram and Facebook, and it sold... along with three other items... and two of them I needed to make... so my "quick little excursion away from orders" turned into a day away. It was hard to get crocheting done on Monday, as we had a remodeling crew replacing windows in our house... 49 degrees and rainy outside, and there was a door open and gaping holes where windows were removed. I spent much of the day cuddled under blankets! 
Done with the small local order... 

Back to work on Fergus McFluffy
Okay, finished this cutie and delivered him to his happy new owner. 

That means I'm going into the weekend with a new list: 
1. Custom flower pillow order  - ship by 11/3
2. Poodle order 50% done Needs 3 legs, tail, ears, neck. 
3. Black Cat order - Christmas order, haven't started yet
4. Dragon order - 11/26 deadline

I spent a little more time than usual getting organized on Saturday... sorting patterns, reorganizing spaces, catching up on laundry, meal planning, etc. 

Since I'm catching up, I played with some new patterns for Christmas gift card holders: 

I finished the flower pillow order and got it shipped a week ahead of time! 
I got a little side-tracked when a designer friend said she had customers looking to buy finished copies of her Rustic Tree ornaments on Etsy... 

But I got back on track and finished the poodle custom order! 


October sales were above average... 

I got my  yarn stash down a little...

I got my inventory down a little...

I kept up with orders and got a few new listings up on Etsy. 

I'd say I did well with my October goals! Let's see what November, with Black Friday, Cyber Monday, and Christmas Shopping brings! 


Monday, September 7, 2020

PJ the Sloth free crochet pattern


PJ the Sleepy Sloth

Using worsted weight yarn and an F (3.75 mm) hook, PJ is about 5.5” long and 4” tall.

Supplies: about half an ounce each of tan and PJ color

Small amount of cream for Face Patch and claws

Small amount of black (sport weight or worsted weight split in half) for embroidery


Abbreviations:

Ch: Chain

DC: Double Crochet

Dec: decrease

HDC: Half Double Crochet

Inc: Increase

MR: Magic Ring

SC: Single Crochet

Sl st: slip stitch


Head/Body

Starting at head with tan yarn

Round 1: 6 sc in MR (6)

Round 2: Inc in each stitch (12)

Round 3: *sc, inc*, repeat around (18)

Round 4: *2 sc, inc*, repeat around (24)

Rounds 5-8: sc around (24)

Round 9: *2 sc, dec*, repeat around (18)

Rounds 10-11: sc around (18)

Change to PJ color

Round 12: 4 sc, *inc, 2 sc* x 3, inc, 4 sc (22)

Round 13: sc around (22)

Round 14: 4 sc, *inc, 3 sc* x 3, inc, 5 sc (26)

Round 15: sc around (26) Stuff head, and stuff body as you go.

Round 16: 4 sc, *inc, 5 sc* x 3, sc 4 (29)

Round 17: 4 sc, *inc, 6 sc* x 3, sc 4 (32)

Rounds 18-22: sc around (32)

Round 23: *6 sc, dec*, repeat  (28)

Round 24: *5 sc, dec*, repeat (24)

Round 25: *2 sc, dec*, repeat (18) (finish stuffing body)

Round 26: *sc, dec*, repeat (12)

Round 27: dec around (6)

Finish off, leaving a tail. Weave tail through the remaining 6 stitches and pull closed. Weave in yarn end.


Face patch – in cream

Ch 6

Sc in 2nd chain from hook, hdc in next chain, slip stitch in next, hdc in next, and work 3 sc in last chain. Turn your work, and make three sc in the other side of the chain, then 2 more sc in the same chain as your first sc. (12)

Round 2: sc, hdc inc, sl st, hdc inc, sc increase in each of next two stitches, sc in next four stitches, 2 sc in the last two stitches of round. Finish off, leaving a long tail to sew to head.


Eye patches. Make two in tan.

Chain 3. Slip stitch in 2nd chain from hook, sc in next. Finish off, leaving a long tail to sew to face patch.

Sew eye patches to face patch. Using sport weight black yarn (or worsted weight yarn split into two strands), embroider small V shapes on the eye patch. Embroider a nose between the eye patches and a mouth underneath.


Sew face patch to head as shown.

Claws: You can make these claws before starting the legs, or just do three long embroidery stitches in cream for the claws.

Make twelve claws so you have them ready to attach to legs:

With sport weight yarn (or worsted weight yarn split in half), chain 3. Slip stitch in 2nd and 3rd chains from hook. Finish off, leaving about 3” tail to tie.

Legs: with tan yarn

Round 1: 6 sc in MR

Rounds 2-5: sc around (6)

Simpler version: embroidered claws

After round 3, attach claws to the leg, between round 1 & 2 (or sew the embroidery stitches). Pull both pieces of yarn (your starting tail and finishing tail) through on either side of a stitch. Pull yarn ends to tighten, and tie tightly. Attach 3 claws on each leg.

Change to PJ color

Round 6: inc, 5 sc (7)

Rounds 7-9: sc around (7)

Finish off, leaving short tail to sew to body. Do not stuff.

Sew the legs level with the eyes, with the front legs at rows 13-15 and the back legs at rows 20-22.


Bow (as seen on pink sloth)

In MR, ch 3, 2 DC, ch 3, sl st, ch 3, 2 DC, ch 3, sl st

Pull MR tight to finish. Finish off, using long tail to wrap around center (at sl stitches). Sew to head.


Saturday, September 5, 2020

Just "one simple item" on my Saturday to-do list

 I'm trying to prepare for a virtual craft show later in September. Since customers will be referred to my Facebook page, I'm working on making albums of my ready-to-ship items. I figured I'd start at the beginning of my inventory list: afghans and blankets. 

So, I added to my list: picture of blankets

First step: make a list of all the available blankets. I looked at my inventory list... and realized I was missing a line for one of the princess dresses. Okay, I need to update that. 

Next: pull the blankets from the box in the closet where they're stored. It's a big box, so it's on the bottom. I had to move half a dozen other boxes. I moved the blankets out to the couch and opened the curtains wide in preparation for pictures. 

I looked over my list and realized i was missing four blankets. I pulled more boxes from the closet and found three of them. But I also found some shawls that I made, oh, about eight years ago, when I did some craft shows at a senior center. Make shawls, the director said, they'll sell like crazy. No, they didn't. I decided to undo one shawl for the yarn... that took, oh, about two hours! 
Starting the unraveling process


Lots of yarn for new projects

Looking at one of the mermaid tail blankets, I realized that I never really liked the tail on it, so I went on a search for a blue yarn to make a new tail... I will take off the variegated tail, wind up the yarn for use in another project, and make a new tail in blue... then get some pictures and relist that blanket for sale. 


So, I've been working on "take pictures of blankets" for about four hours now, and haven't really taken any pictures of the blankets for the inventory album! And I still haven't found the polka dot dress blanket! Murphy's Law says somebody will buy it from the Etsy listing, and then I'll have to tear two rooms apart looking for it! 

Tuesday, September 1, 2020

September, here we go...

This month, I'm keeping my goals pretty vague. As the month starts out, I have five open orders, three projects in my project corner (and two stuffed in the craft room closet), three patterns that are just about ready to publish, my yarn stash at the highest it's been in months, my sales inventory at the highest point ever (as a result of more time to make stuff and no craft shows to sell at!). 

So, let's work on all of those: 

1) Keep up with orders (Started the month with five orders, all of them "no hurry") 

    (mid-month update... up to seven orders... I finished one of the original five, but got some new orders. Feeling a bit overwhelmed, but it's good to have orders coming in again!) Here are some of the orders I finished in September: 

Two Halloween Cats


An order of 12 snails

An albino tsuchinoko


2) Finish one WIP - DONE

Yay! I finished the Ocean Friends baby blanket that I've been working on (and stuffing in a basket) since February! 


3) Publish one pattern - Done - published PJ the Sloth! I also submitted a pattern to be published in the October issue of In The Round Amigurumi magazine! 


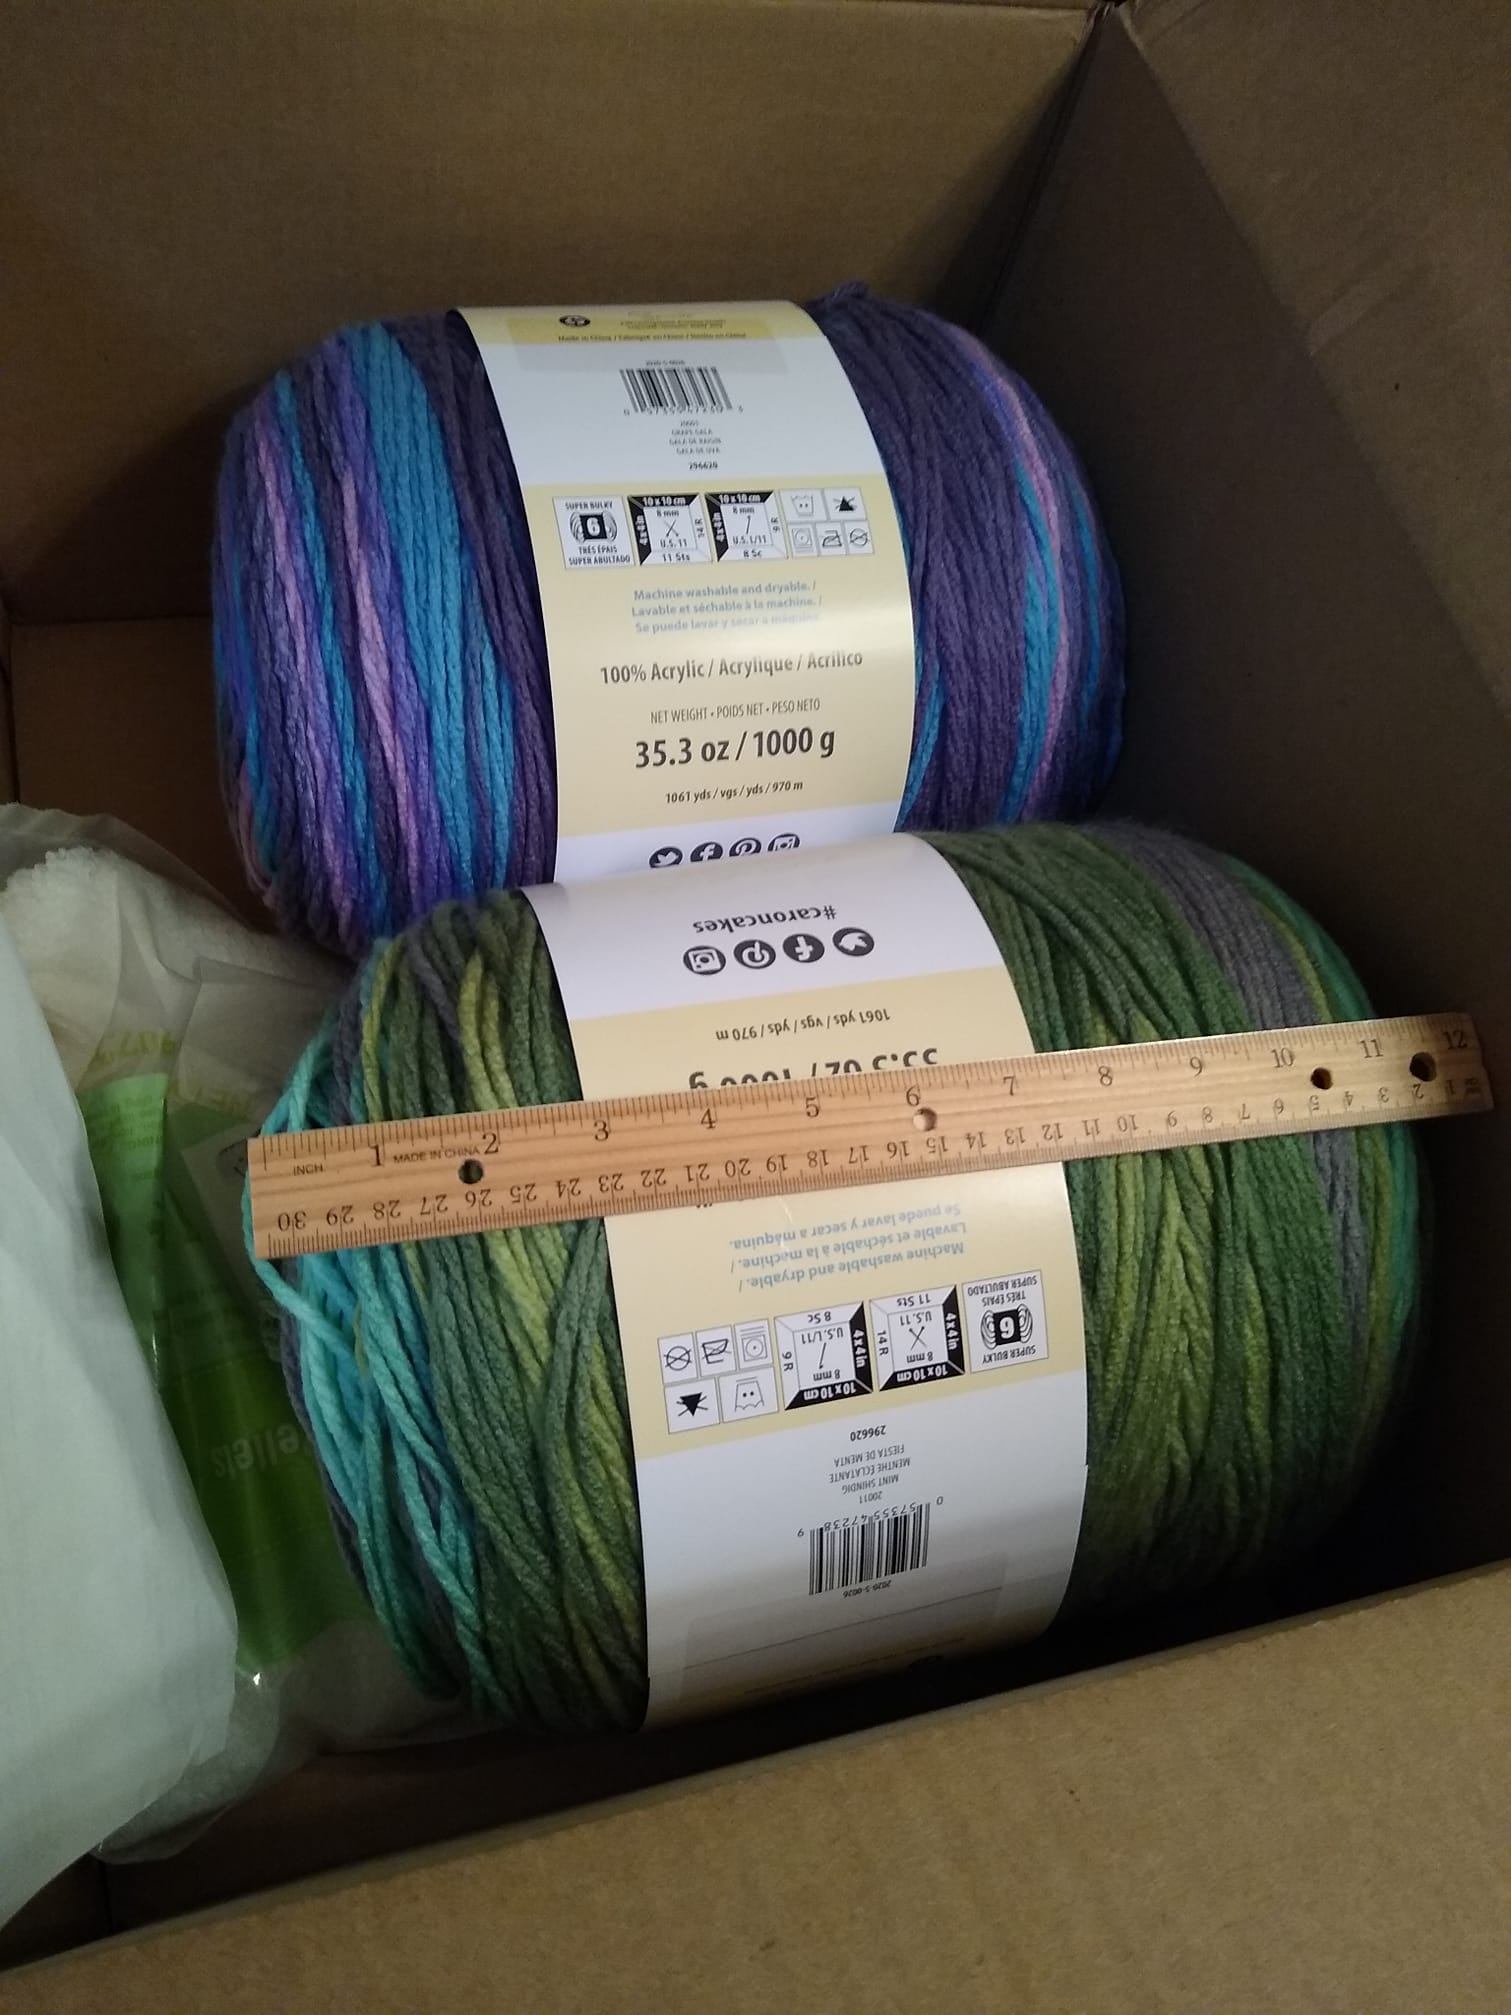
4) work down yarn stash (no yarn purchases, unless specifically needed for a paid order!) (Oops #1 - Ebay sent me a $25 coupon for being a long-time customer... so I bought a $26 "mixed yarn lot". I only paid $5. It was rather disappointing (half of it was old wool yarn, some so old that it was falling apart. One ball that I wound had a receipt folded up for the center of the ball... the receipt was from a doctor's office...dated 1969!). Oops #2... Caron Cakes is having a contest... make something from Caron Cakes and be in the running to win some yarn. Went to Michaels online and bought some Caron Cakes. Okay, maybe I can behave for the rest of the month! 

These Caron Cakes are HUGE!

5) Sell some stuff! I would like to end the month with my inventory spreadsheet lower than when I started. The problem is, as I work on updating my shop and taking pictures, I'm finding items that were never entered into inventory... I think I've added over $200 worth of missing items to my spreadsheet this month! 

Yeah, #5 is easier said than done. I will be having a labor day sale (0 sales), and participating in an online sale at the end of September (after one week of being live, still 0 sales). Hopefully those two will help to whittle down my collection! I will also be working on creating photo albums on my Facebook Page to show all of what I have available.